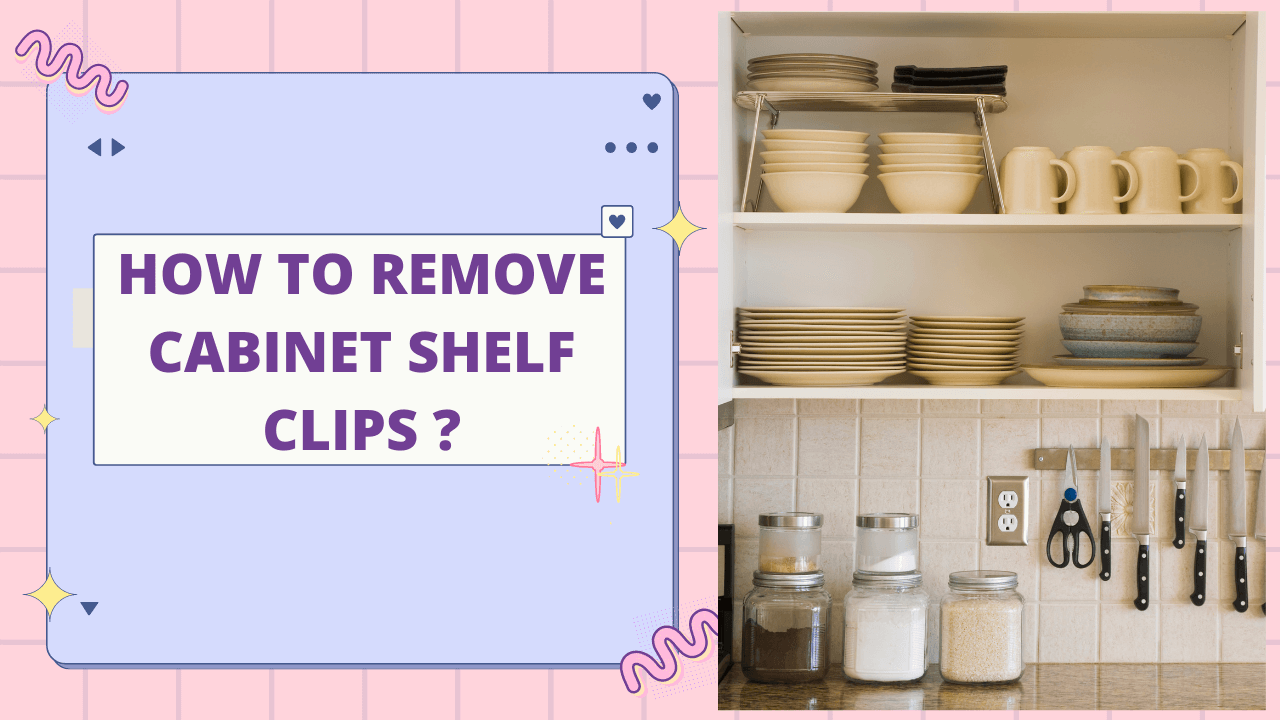
How to Remove Cabinet Shelf Clips
Cabinet shelf clips are small, but important pieces of hardware that keep shelves securely in place inside a cabinet. However, there may be times when you need to remove them, such as when you want to adjust the height of a shelf or replace a damaged clip. Removing cabinet shelf clips may seem like a simple task, but it can be a bit tricky if you don’t know the proper technique.
In this blog post, we will discuss step-by-step instructions on how to remove cabinet shelf clips without damaging the cabinet or the shelf. We will also provide some tips and tricks to make the process easier and more efficient. Whether you’re a DIY enthusiast or a homeowner looking to make some adjustments to your cabinets, this guide will help you get the job done right.
What Is a Cabinet Shelf Clip?
A cabinet shelf clip is a small hardware component that is used to hold a shelf in place inside a cabinet. Shelf clips are designed to be inserted into small holes or slots in the cabinet walls, and the shelf is then placed on top of the clips to create a stable surface for storing items.
Cabinet shelf clips are an essential component of many cabinets, and they allow for customization and flexibility in organizing storage spaces. They can be removed and replaced as needed to accommodate different storage needs or to make repairs.
How Cabinet Shelf Clip Removal Works
Standard cabinet shelf pegs, while effective at holding the shelf up, have a flaw in that they are unable to keep the shelf down. This can result in the upper shelf becoming unsettled when reaching for items on a lower shelf, or if the shelf pegs are improperly placed, it could cause the shelf to tip over.
Cabinet shelf clips with hinged locks securely hold the shelf in place. By pushing the lock with your finger, the shelf can be released and cleared from the top of the peg. To remove the shelf, depress both clips and lift one side at a time. With the help of an assistant, the process takes just seconds, but without an assistant, it should only take an extra minute or so.
Another option is to remove the cabinet doors, which can be done quickly if the cabinet has concealed hinges. If a clip is broken and cannot be removed by hand, driving a small screw into the peg and using a claw hammer to extract it is a viable solution.
Types of Cabinet Shelf Clips
Understanding the different types of cabinet shelf clips is essential for successful removal and reinstallation. There are two primary materials used for shelf clips: metal and plastic. Both materials come in locking and non-locking varieties. Let’s explore each type in more detail.
A. Metal clips
- Locking metal clips: These clips feature a locking mechanism that securely holds the shelf in place. They are often used in cabinets where added stability is required, such as in heavy-duty storage applications. Locking metal clips are typically more difficult to remove than non-locking metal clips due to their locking feature, but they provide increased support and security for your shelves.
- Non-locking metal clips: Non-locking metal clips do not have a locking mechanism, making them easier to remove. They still provide ample support for your shelves, but may not be suitable for very heavy items or applications where added security is required. Non-locking metal clips are often found in residential cabinetry.
B. Plastic clips
- Locking plastic clips: Similar to locking metal clips, these plastic clips have a built-in locking feature to keep shelves securely in place. They are generally more affordable and lightweight compared to their metal counterparts, but may be less durable over time. Locking plastic clips are a popular choice for budget-friendly cabinetry and light-duty storage applications.
- Non-locking plastic clips: Non-locking plastic clips do not have a locking mechanism and are typically easier to remove than locking plastic clips. These clips are ideal for light-duty storage and can be found in many residential cabinets. While they are affordable and easy to work with, non-locking plastic clips may not provide the same level of support as their locking counterparts.
By familiarizing yourself with these different types of cabinet shelf clips, you can better understand how to approach their removal, ensuring a safe and efficient process. In the upcoming sections, we will provide detailed instructions for removing each type of clip, along with the tools needed and safety precautions to keep in mind.
Required Tools and Safety Precautions
Before you begin the process of removing cabinet shelf clips, it’s important to gather the necessary tools and take appropriate safety precautions. This will not only make the process smoother but also help prevent damage to your cabinets and shelves, as well as reduce the risk of personal injury.
A. List of essential tools
- Flathead screwdriver: A flathead screwdriver is an indispensable tool for removing various types of cabinet shelf clips. It can be used to pry, unlock, or disengage the clips from the shelf and cabinet.
- Needle-nose pliers: These pliers are useful for gripping and removing clips, especially in tight spaces or when dealing with small, fragile plastic clips.
- Soft cloth or towel: A soft cloth or towel can be used to protect the cabinet and shelf surfaces while removing the clips, preventing scratches and other damage.
- Rubber mallet (optional): In some cases, a rubber mallet may be necessary to gently tap clips, particularly if they are rusted or stuck in place. The rubber mallet ensures that you can apply force without causing damage to the cabinet or clips.
B. Safety precautions
- Emptying the cabinet shelves: Before attempting to remove shelf clips, make sure to empty the shelves of all items. This will not only make the task easier but also prevent accidents or damage to your belongings.
- Wearing protective gloves: Protective gloves can help prevent injuries, especially when dealing with metal clips that may have sharp edges. Gloves also provide a better grip, making it easier to handle the clips.
- Securing the cabinet door: To avoid accidental closure of the cabinet door while you’re working, it’s a good idea to secure the door in the open position. You can use a door stopper or even a piece of tape to keep the door from closing unexpectedly.
By having the right tools and taking necessary safety precautions, you’ll be well-prepared for a safe and efficient cabinet shelf clip removal process. In the next sections, we will provide detailed instructions for removing each type of clip.
How to Remove a Cabinet Shelf Clip
Removing cabinet shelf clips can be a simple task, but it may require some care and attention to avoid damaging the cabinet or the clips. Here are the steps to remove cabinet shelf clips:
- Empty the cabinet: Before removing the clips, make sure to empty the cabinet of all its contents. This will give you more space to work and prevent any items from getting in the way.
- Locate the clips: The clips are typically located on the underside of the cabinet shelf, near the corners. They may be visible or hidden depending on the design of the cabinet.
- Determine the clip type: There are two main types of cabinet shelf clips: push-in clips and locking clips. Push-in clips are held in place by a small spring, while locking clips have a mechanism that locks them into place.
- Remove push-in clips: To remove push-in clips, simply push down on the clip with your fingers or a flat tool, such as a screwdriver, and then pull it out of the hole. Repeat this process for each clip.
- Remove locking clips: To remove locking clips, use a flat tool, such as a screwdriver or pliers, to push down on the locking mechanism while simultaneously pulling the clip out of the hole. Repeat this process for each clip.
- Clean the shelf: Once all the clips are removed, you may want to take the opportunity to clean the cabinet shelf before replacing the clips or installing new shelves.
- Reinstall or replace clips: If you plan to reuse the clips, make sure to clean them before reinstalling them. If the clips are damaged or you prefer to install new shelves, you can purchase replacement clips from a hardware store or online.
Remember to be gentle and patient when removing the clips, as excessive force can damage the shelf or the clips. If you encounter any difficulties or are unsure about the process, consult a professional or seek additional guidance.
How to Remove a Broken Cabinet Shelf Clip
Removing a broken cabinet shelf clip can be frustrating, but with the right tools and techniques, it can be done fairly easily. Here are the steps to follow:
Materials Needed:
- Pliers
- Needle-nose pliers
- Screwdriver (optional)
- Replacement shelf clip (optional)
Steps:
- Locate the broken clip: First, locate the broken clip on the cabinet. It should be visible on the side of the cabinet or on the shelf.
- Remove the remaining part of the clip: Use pliers to grip the remaining part of the clip and gently twist it back and forth until it comes loose. If the clip is stuck, you can try using a screwdriver to pry it off.
- Pull out the broken clip: Once the remaining part of the clip is removed, use needle-nose pliers to grip the broken clip and pull it out of the hole.
- Clean the area: Use a cloth to clean the area around the hole where the clip was removed. This will ensure that the replacement clip fits securely in the hole.
- Replace the clip (optional): If you have a replacement clip, insert it into the hole and push it in until it snaps into place. Make sure it is securely in place before using the shelf.
- Test the shelf: Test the shelf by placing something on it to make sure it is secure.
If you don’t have a replacement clip, you can take the broken clip to a hardware store to find a matching replacement. Alternatively, you can use a different type of clip or bracket that fits the hole and provides the necessary support for the shelf.
Reinstalling or Replacing Cabinet Shelf Clips
Reinstalling or replacing cabinet shelf clips can be a simple task with the right tools and knowledge. Here are the steps to follow:
- Remove the old shelf clip: Use a screwdriver to remove any screws holding the old shelf clip in place. If there are no screws, gently pry the clip off with a flat-head screwdriver.
- Clean the area: Use a damp cloth to wipe down the area where the old clip was located. Remove any dirt or debris.
- Check the new clip: Make sure that the new shelf clip is the correct size and shape for your cabinet. If necessary, take a sample clip with you to the hardware store to ensure that you get the right replacement.
- Install the new clip: Place the new clip into the old location and screw it in place. Make sure that the clip is securely fastened.
- Test the shelf: Once the new clip is installed, test the shelf to make sure it is level and secure. If necessary, adjust the clip or shelf to ensure a tight fit.
- Repeat: If you need to replace more than one clip, repeat the process for each one.
Overall, reinstalling or replacing cabinet shelf clips is a simple task that can be accomplished with just a few tools and some patience. By following these steps, you can ensure that your cabinet shelves are secure and stable.
Troubleshooting Common Shelf Clip Removal Issues
Shelf clips are small plastic or metal pieces that hold shelves in place on a bookcase or cabinet. They are designed to be easily installed and removed, but sometimes they can be difficult to remove. Here are some common issues that people encounter when removing shelf clips and some troubleshooting tips:
- The clip won’t budge: If the clip won’t come out, try gently wiggling it back and forth while applying pressure. You can also try using pliers to grip the clip and pull it out. If the clip is still stuck, you may need to use a lubricant such as WD-40 to help loosen it.
- The clip breaks: Shelf clips can become brittle over time and may break when you try to remove them. If this happens, you will need to replace the clip. Be sure to purchase a replacement clip that is the same size and shape as the original.
- The clip falls into the cabinet: Sometimes when you remove a clip, it will fall into the cabinet or bookcase. To retrieve it, try using a magnet to attract the metal clip or a thin tool such as a pair of tweezers to grab the plastic clip. If you can’t retrieve the clip, you will need to purchase a replacement.
- The clip won’t fit: If you are trying to replace a clip and it won’t fit, make sure you are using the correct size and shape. Some clips are designed for specific types of shelves or cabinets, so be sure to check the manufacturer’s instructions before purchasing a replacement.
- The clip won’t stay in place: If the clip won’t stay in place, check to make sure the shelf is level and the clip is in the correct position. You may need to adjust the position of the clip or use a different clip that is more secure.
- The clip is stuck due to paint or adhesive: Sometimes, shelf clips can get stuck due to paint or adhesive from previous installations. In such cases, try using a flathead screwdriver to pry the clip off the shelf gently. You can also try heating the clip slightly with a hairdryer to soften the adhesive or paint.
- The clip is rusted: If the clip is made of metal and has rusted, you may need to use a rust dissolver, such as vinegar or baking soda, to remove the rust before attempting to remove the clip. You can also use a wire brush to remove any rust on the clip’s surface.
- The shelf is glued to the clip: In some cases, shelves can get glued to the clip over time. If this happens, try using a hairdryer to heat the adhesive and gently pry the shelf off the clip with a flathead screwdriver.
- The clip is damaged: If the clip is damaged, it may not be possible to remove it. In such cases, you may need to remove the entire shelf to gain access to the clip’s underside and replace it.
- The clip is loose: If the clip is loose and keeps falling out, it may be due to wear and tear over time. In such cases, you may need to replace the clip with a new one of the same size and type.
Frequently Asked Questions (FAQs)
- Can I replace plastic clips with metal clips, or vice versa?
Yes, you can replace plastic clips with metal clips, or metal clips with plastic ones, as long as they are compatible with your cabinet’s dimensions, shelf thickness, and intended use. Keep in mind that metal clips generally offer greater strength and durability, while plastic clips are lightweight and more budget-friendly for light-duty storage.
- How do I determine the weight capacity of my cabinet shelves and clips?
To determine the weight capacity of your cabinet shelves and clips, consult the manufacturer’s specifications or seek advice from a knowledgeable professional. It’s essential to avoid overloading your shelves, as this can lead to clip failure, shelf collapse, and potential damage to your cabinet and its contents.
- Can I add more shelf clips to increase the weight capacity of my shelves?
Adding more shelf clips may provide additional support, but it is not a guaranteed method for increasing the weight capacity of your shelves. It’s crucial to consider the capacity of the cabinet structure itself and the shelf material. If you’re uncertain about the weight capacity, consult the manufacturer or a professional for guidance.
- How do I prevent my shelves from sagging or warping over time?
To prevent your shelves from sagging or warping, follow these tips:
a. Ensure proper installation: Make sure your shelves and clips are level, aligned, and securely fastened. b. Distribute weight evenly: Place heavier items in the center of the shelf and distribute the remaining weight evenly across the shelf’s surface. c. Avoid overloading: Do not exceed the maximum weight capacity of the shelves, clips, or cabinet.
- Can I convert my fixed shelves to adjustable shelves?
In many cases, you can convert fixed shelves to adjustable shelves by retrofitting your cabinets with an appropriate adjustable support system, such as shelf pins or cleats. Before making any modifications, assess the cabinet’s structure, material, and overall condition to ensure compatibility with the new support system.